Trauma Bandage Comparison
By: Opie
Trauma Bandage, Combat Dressing, Field Dressing, Emergency Bandage, Combat Wound Bandage and First Aid Dressing are all descriptions of something designed to be placed over a wound to aid in bleeding control, protecting the wound and easing the suffering of the victim. Though there are countless names for the product, there are common components to all of them: a dressing and a bandage which are roughly defined as follows.
Dressing – The material that covers a wound. This absorbs blood and fluids from the wound and helps keep dirt and contaminants from getting in. For the purposes of this write-up we are referring to the dry fabric or gauze that comes into contact with the wound.
Bandage – Usually a strap of fabric or elastic material that holds the dressing in place and can be used to apply circumferential pressure to a wound.
Much in the same way we reviewed tourniquets (Editors note: Opie’s TQ article is one of BSW all time most read articles :)) in an earlier BlackSheepWarrior article, I want to present to you some of the bandage options that exist and help you decide what product is going to best fit your needs and expected uses. I won’t presume to tell you which one is “the best” because the best for me going on a day trip to town with my family is different from the best for a patrol officer setting up an active shooter bag. Size, weight, cost, suppliers and regulations all dictate which product we’re allowed or prefer to use. To be clear, I’ve had various first responder level medical training (CLS, EMT-B and IFAK) throughout the years and continue to understand that our red stuff should stay on the inside if possible. Beyond that I don’t claim to be a medical professional. What follows is presenting you options and a layperson’s observations – nothing more.
Israeli Bandage – The “Izzy” is one of the most common bandages in use today and as such we’ll look at it first.
Unwrapping the Israeli bandage from its dark plastic outer wrapping will bring you to yet another inner plastic wrapping. No biggie, but something to be aware of. The excess bandage is kept from unravelling by a stitch through the folds. The stitch is enough to keep the 5’ tail from falling loose but will allow it to unravel as you deliberately make your wraps.

The Israeli bandage has a dressing pad with a “pressure bar” device situated above it. Think of the flattened U shape of the Cheshire Cat’s grin with a small opening at the middle of the top loop. This is designed to pull the tail of the bandage down and into, pulling taut and then wrapping the bandage back over the bar. Doing so creates a fair bit of pressure that approaches the “pressure dressing” standard I was taught oh so long ago.
You keep wrapping and when you get to the end there is a plastic retaining clip that is used to hook onto the edges of the previous wraps, locking the bandage into place.
Tactical Medical Solutions, Olaes Modular Bandage – I was first exposed to the Olaes bandage at Shot Show 2016. It was presented as a bandage that had multiple features built in that could be stripped from the bandage and used separately if the need arose. There is a plastic sheet tucked in the dressing pouch that can be pulled out and used as an occlusive dressing. It’s a good sized sheet and it’s more suitable for use as an occlusive dressing than torn bandage wrappers can be.
Also in the dressing pocket is a 10’ (3m) length of gauze. The gauze doubles as the dressing “filling” in normal bandage usage. Should you need gauze to pack a wound with, you can strip it out of the pocket and get to work.
The pressure device is a clear plastic cup that focuses the pressure from the bandage wraps. The cup can also be pulled off and used as a protective eye shield.
The bandage has three hook tape strips along the length to help lock the wraps and prevent unravelling if you lose your grip or have to stop wrapping for whatever reason. There are also large bars of hook tape at the both ends to help start and stop the wraps. At the very end of the bandage is a plastic retaining clip that works in the same manner as the Israeli bandage’s and looks really familiar.
The Olaes is undoubtedly the most feature packed bandage out there. If you were looking for a single bandage to carry that gives you a number of treatment options without having to carry additional items this may be what you’re looking for. The trade-off is that the Olaes is a little bulkier that some of the other bandages out there and if you don’t need the removable gauze, eye cup or an occlusive sheet then these features go “unused.” However you could feasibly crack an Olaes, pull the gauze to pack a wound and then apply the bandage to another casualty to treat a less serious bleed. But this does also give you the option to pack a wound and then secure that packing with the bandage. This application would require a separate pack of gauze with any of the other bandages.
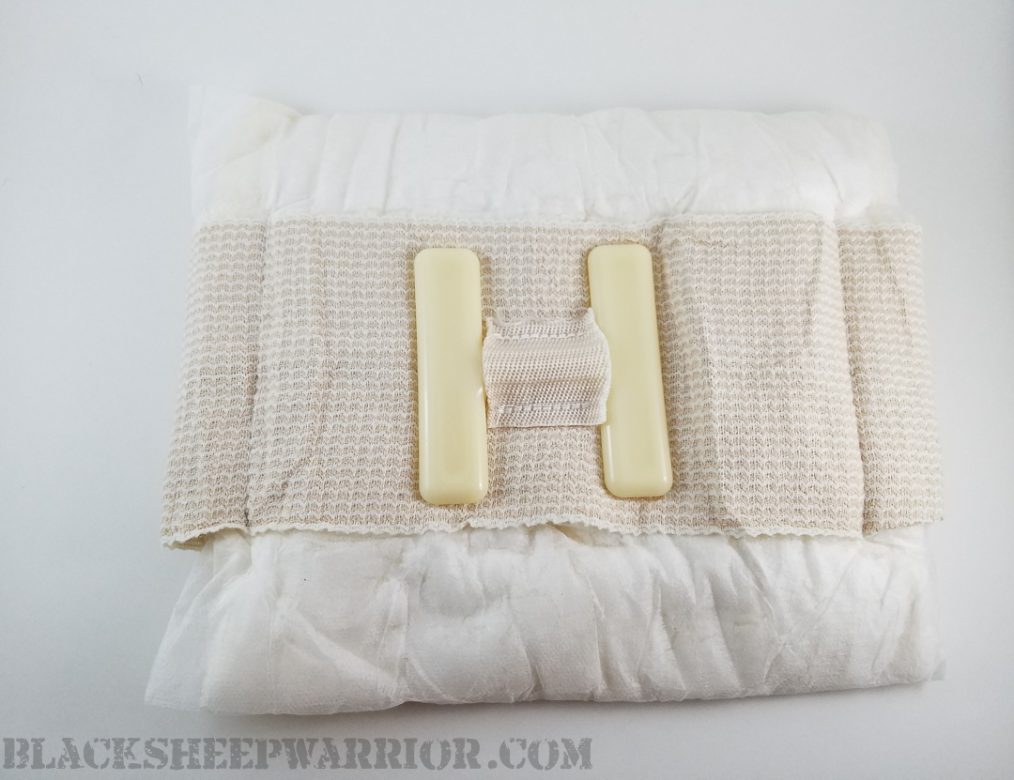
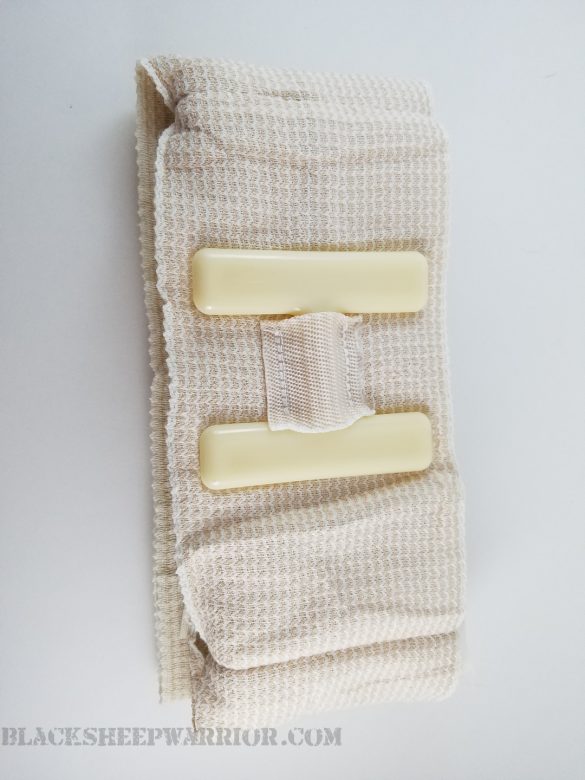
H&H Medical, H-Bandage – The H&H bandage is the flattest of all the trauma bandages I compared, but also one of the largest. It is hailed as a universal bandage meaning that it can be used for everything from a cut on an extremity to a larger abdominal wound. The dressing is very large and is demonstrated as being applied with edges of the dressing protruding out on an extremity application. There is another version of the H-Bandage with a smaller dressing and overall footprint. Reviewing its documentation, the application routine and features appear to be the same, just in a smaller sized bandage.
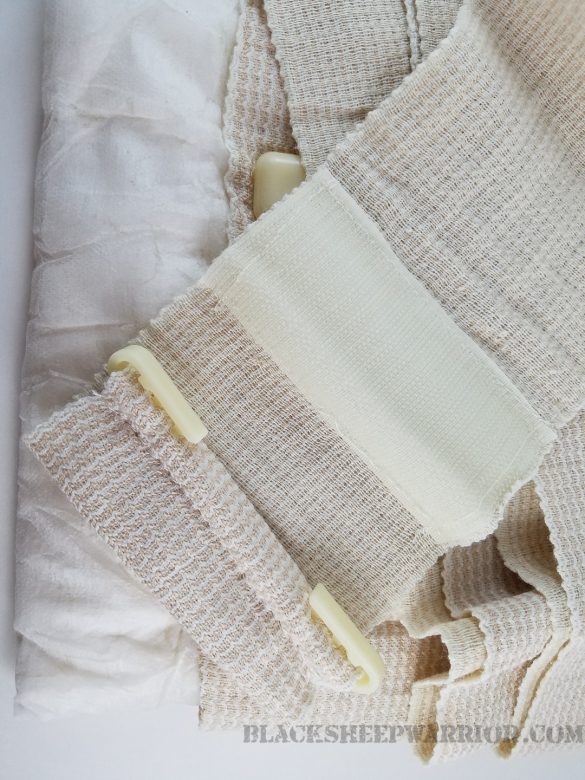
The H-Bandage has a pressure device which appropriately enough is an “H” shaped cinch that helps pull pressure taut on the dressing. This really struck me as a “chicken or egg” issue. Is the device H shaped because of the company name or is the company named after the device?
So I wrote H&H and asked them this very question. The president of the company, Paul Harder, wrote back and explained that hubris wasn’t behind the design. The founder, his father, had a vision for an H shaped cleat and due to a hiccup in prototype supply sourcing, the bandage almost became the “I” bandage. Happily, fate won out and the H design came to fruition.
To use, remove the H-Bandage from its wrapper, apply the dressing to the wound and begin wrapping. The H-shaped “cinch” is centered over the dressing. The bandage’s first wrap will go around one half of the H, pulling taut. Then run it back around the opposite direction and then around the other half of the H, again pulling taut. Now wrap as you would the other bandages. Once you get to the end there is another familiar looking plastic clip. Hook onto previous wraps and, well you get the idea.
I will admit I was skeptical the first couple of times applying the H-Bandage and making the wraps around the cleat. It seemed like too complex of a function to perform under pressure. But as I did it more and watched the manufacturer’s instructional video it actually became pretty intuitive and not really any slower than the other bandages I’ve looked at. Plus you can feel the amount of pressure that the H-cinch brings to bear. That’s not as easy to say about some of the other bandages.
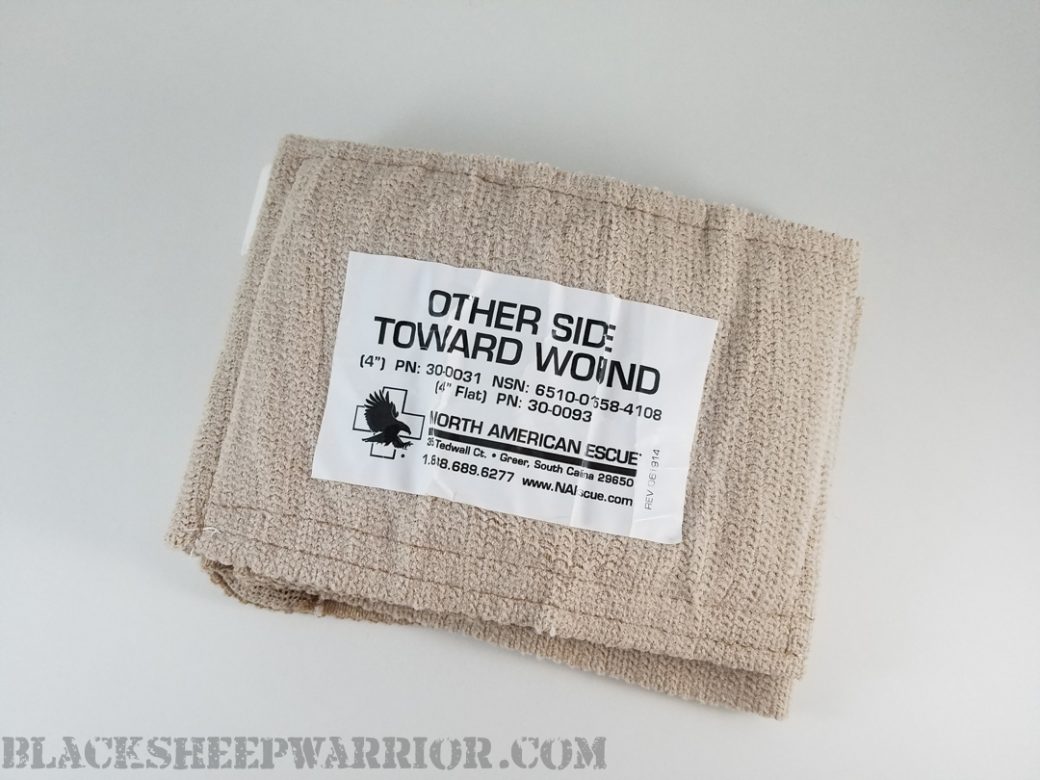
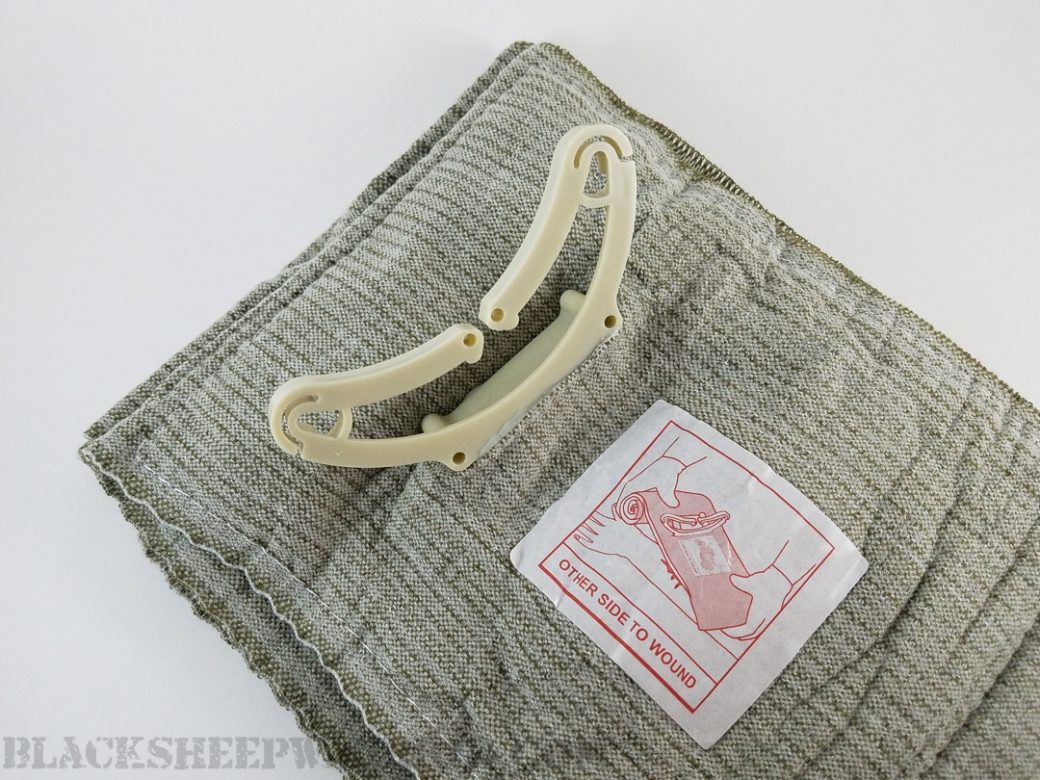
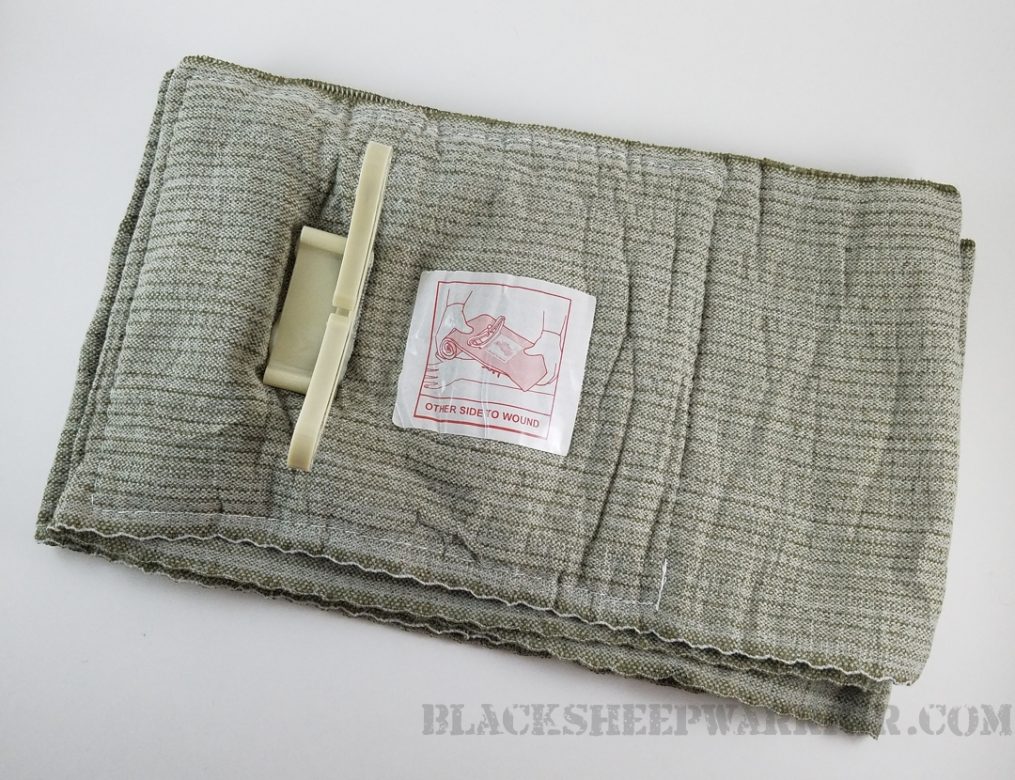
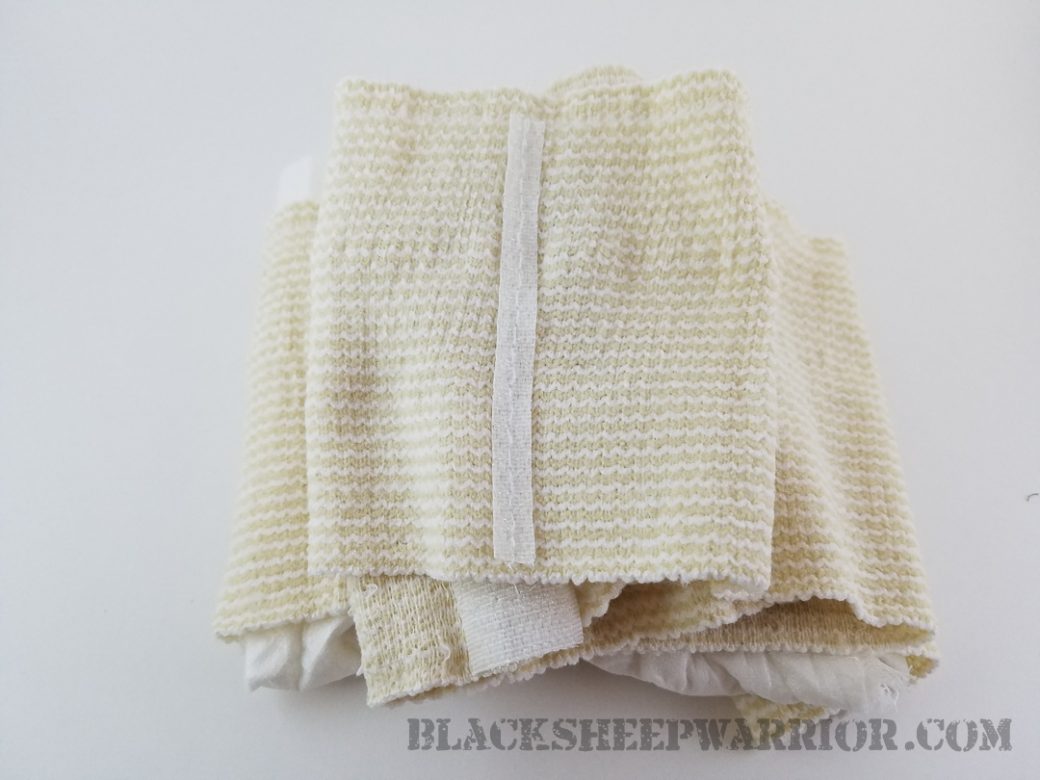
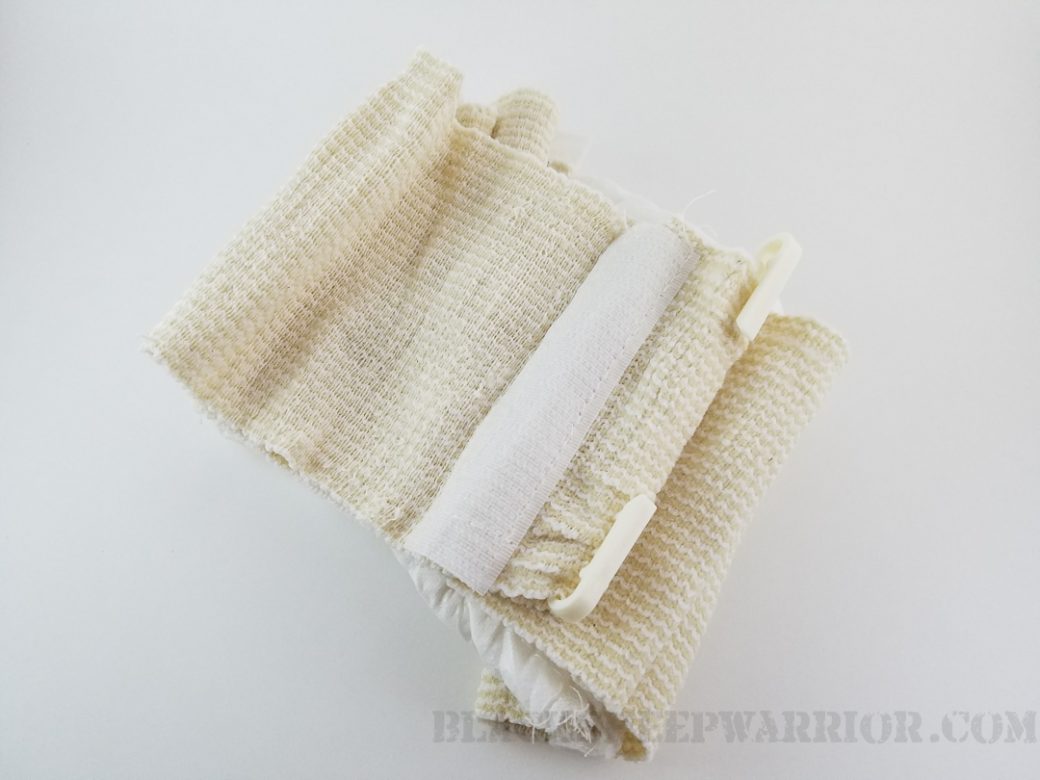
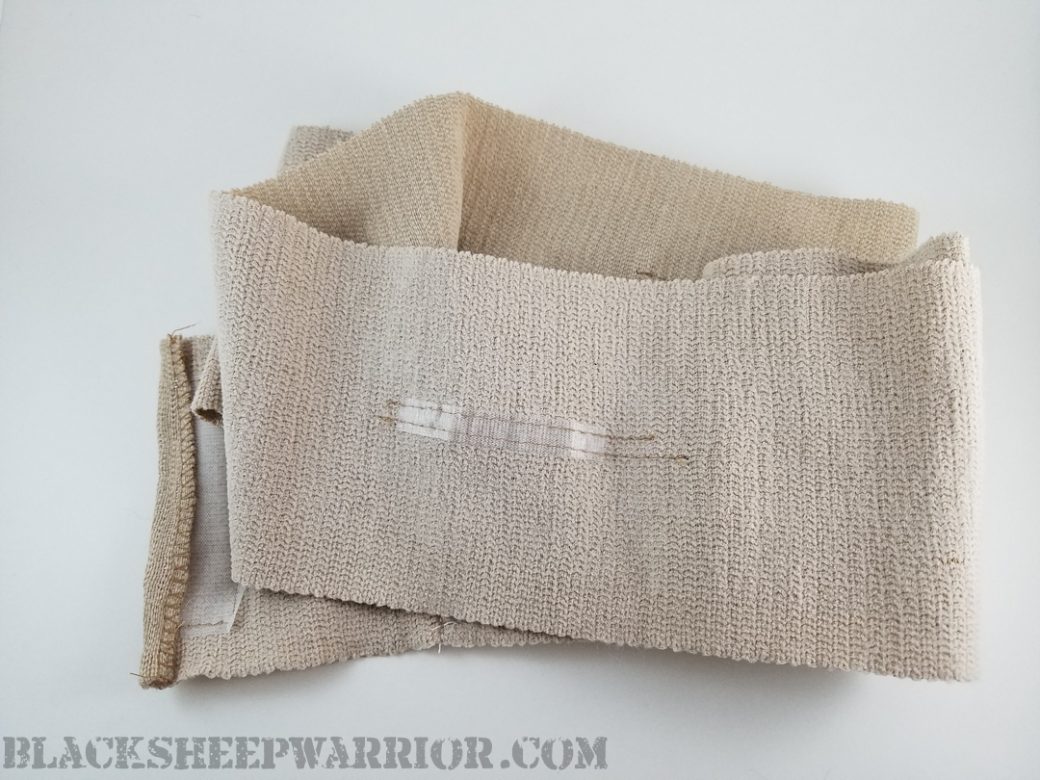
North American Rescue, Emergency Trauma Dressing (ETD) – North American Rescue (NAR) is the maker of the Combat Application Tourniquet (CAT) and many other emergency medical products in common usage. NAR has made one of the simplest trauma bandages out there. The Emergency Trauma Dressing (ETD) in the simplest terms is a dressing attached to an elastic bandage similar to an ACE wrap.
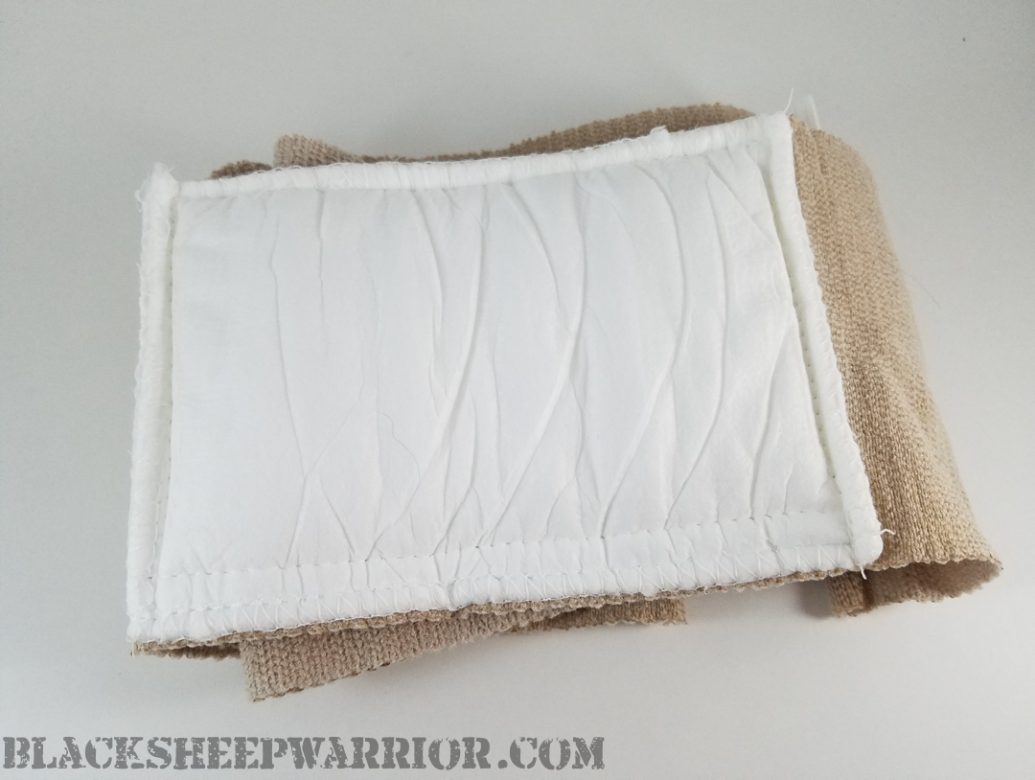
The back of the dressing has a label imploring you to place the “OTHER SIDE TOWARDS WOUND.” Heeding that advice you place the dressing over the wound and start wrapping. The bandage has three vertical hook tape strips that keep the bandage from unravelling. Once the wraps are done, the bandage has a plastic retaining clip that, again, slips over the edges of the previous wraps and locks the tail in place. There is a large patch of hook tape just before that really familiar looking clip to hold the bandage in place while you lock the clip in.
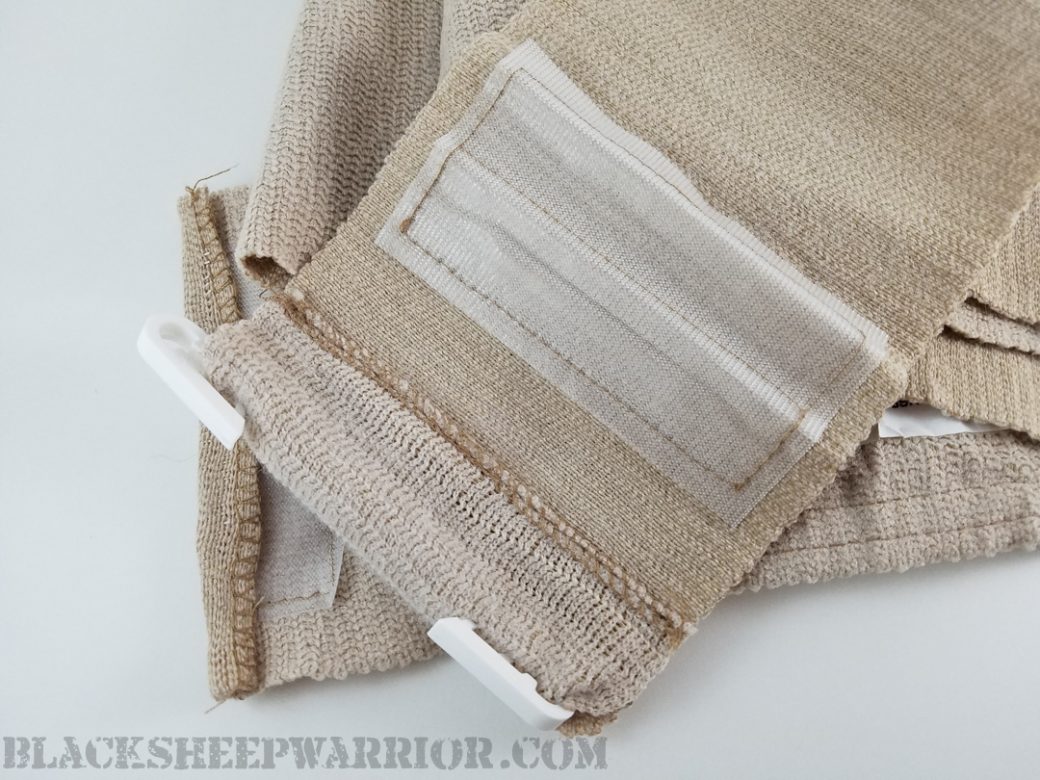
The ETD doesn’t have the pressure devices of the other three bandages. However NAR states in their instructional video that the ETD can be used just as successfully as the other common trauma bandages in the pressure dressing role by adding a twist in the bandage directly over the dressing and continuing to wrap. They claim that this achieves the same outcomes with a simpler application. I don’t have a way to realistically test that claim so take the statement as you will.
The ETD is by far the simplest trauma bandage out there. Remove from wrapper, place dressing over wound and wrap. It’s so easy a fireman could do it.
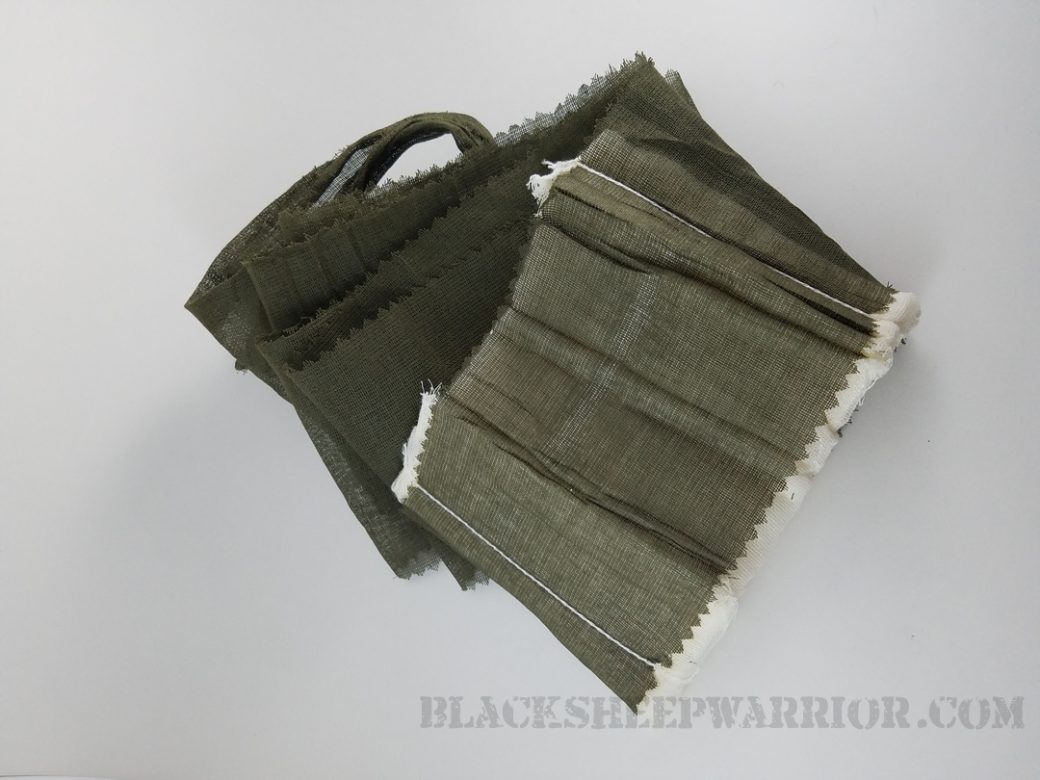
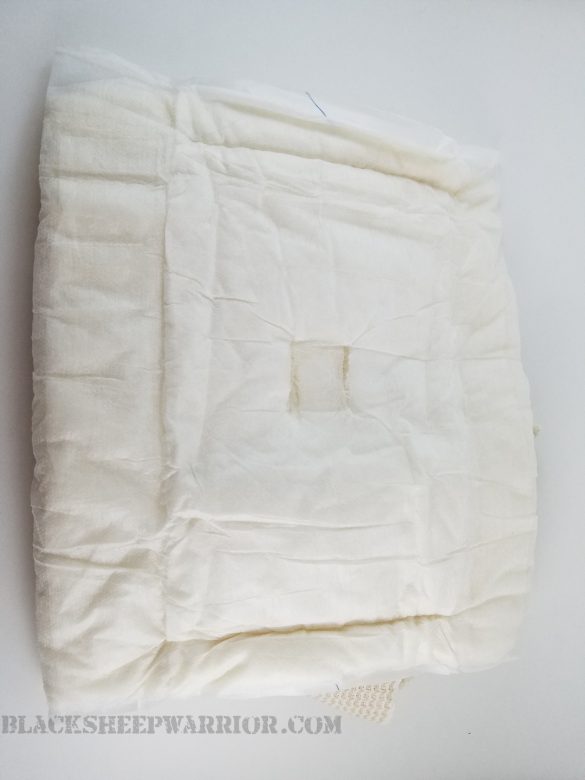
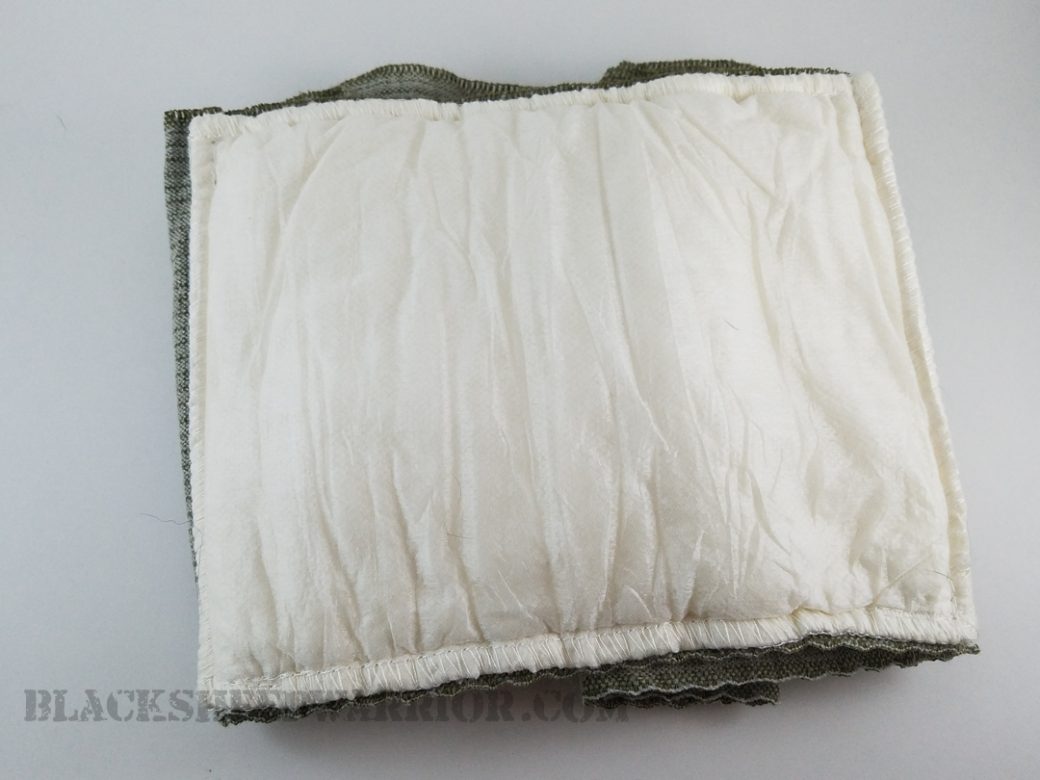
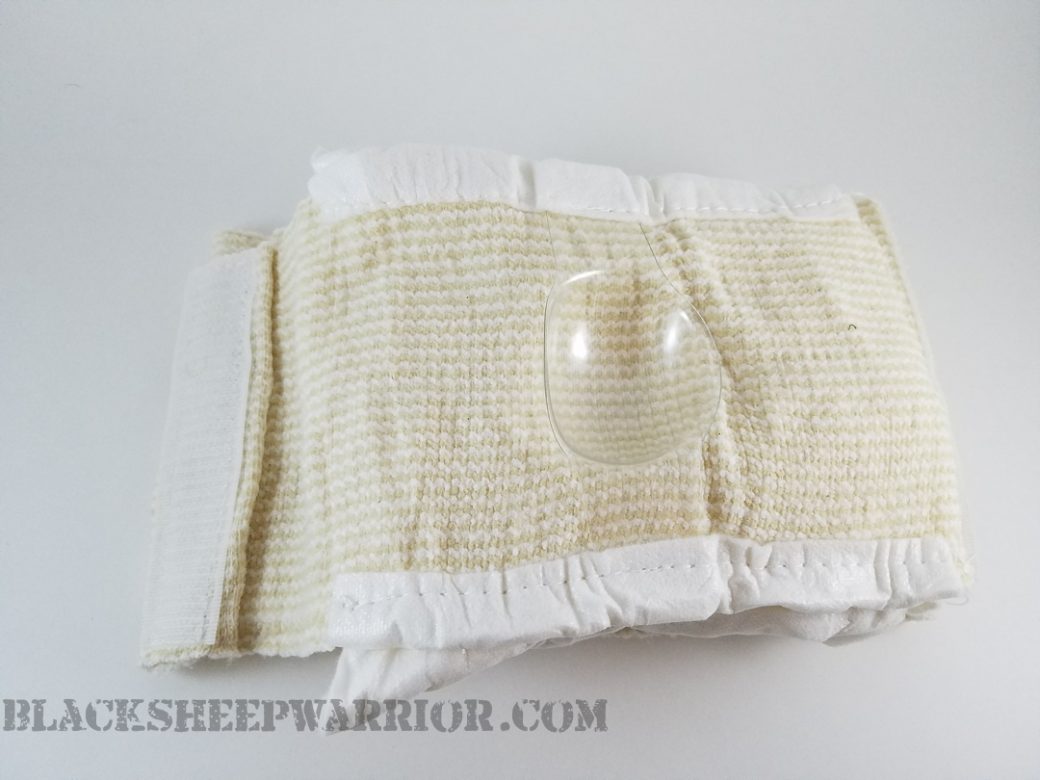
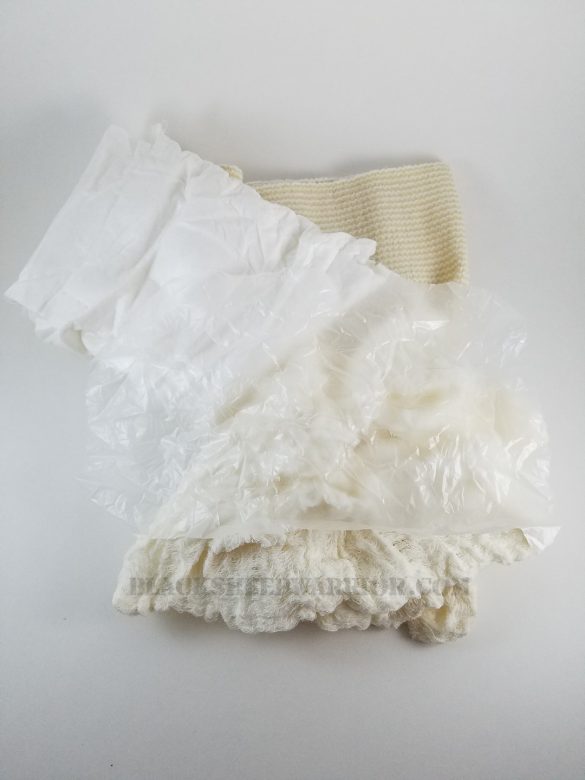
Field First Aid Dressing – This is the bandage that I grew up with in the Army and trained with the most prior to the Izzy’s arrival. Before fully stocked IFAKs became the norm, soldiers were rolling with a first aid dressing and a cravat in a compass pouch hanging on their web gear. The field dressing is double wrapped. There is a thick outer plastic wrapper which protects the paper wrapping around the dressing.
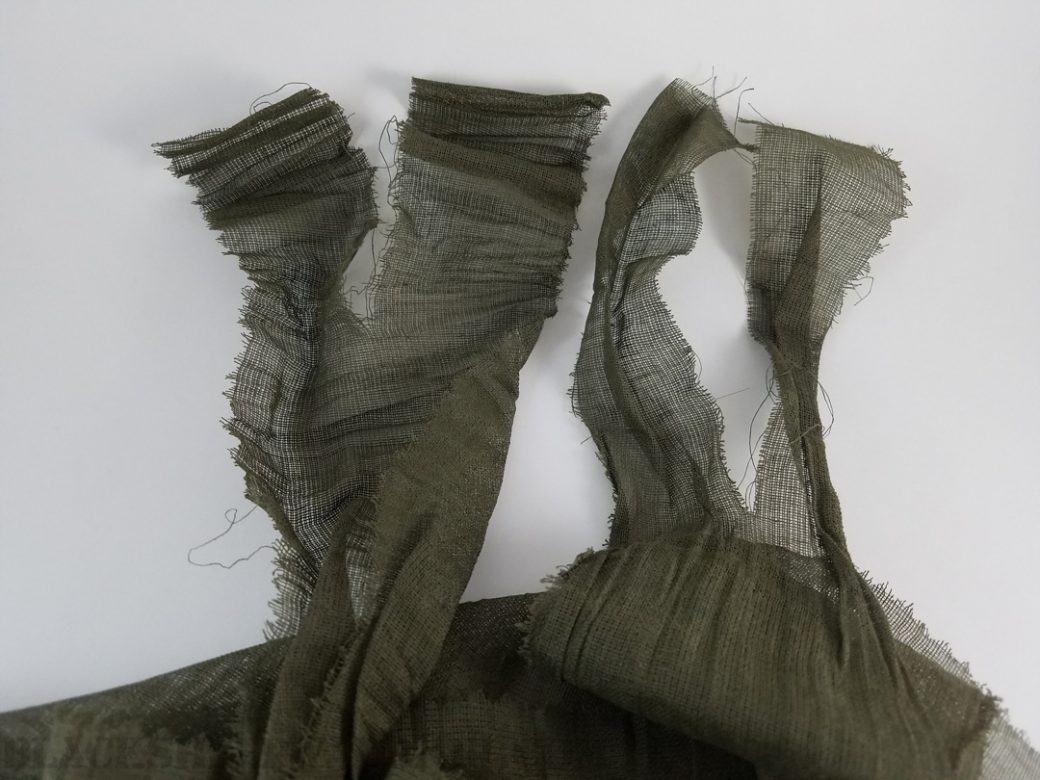
Once the wrappers are removed, the bandage flanking the dressing’s sides must be gripped and pulled outward to flatten the dressing before applying to the wound. The bandage tails are then individually wrapped, ensuring the exposed edges of the dressing are covered by the tails. The prescribed method for using this as a pressure dressing was to take a wad or clump of something, usually a cravat, place it directly over the wound and secure the tails tightly.
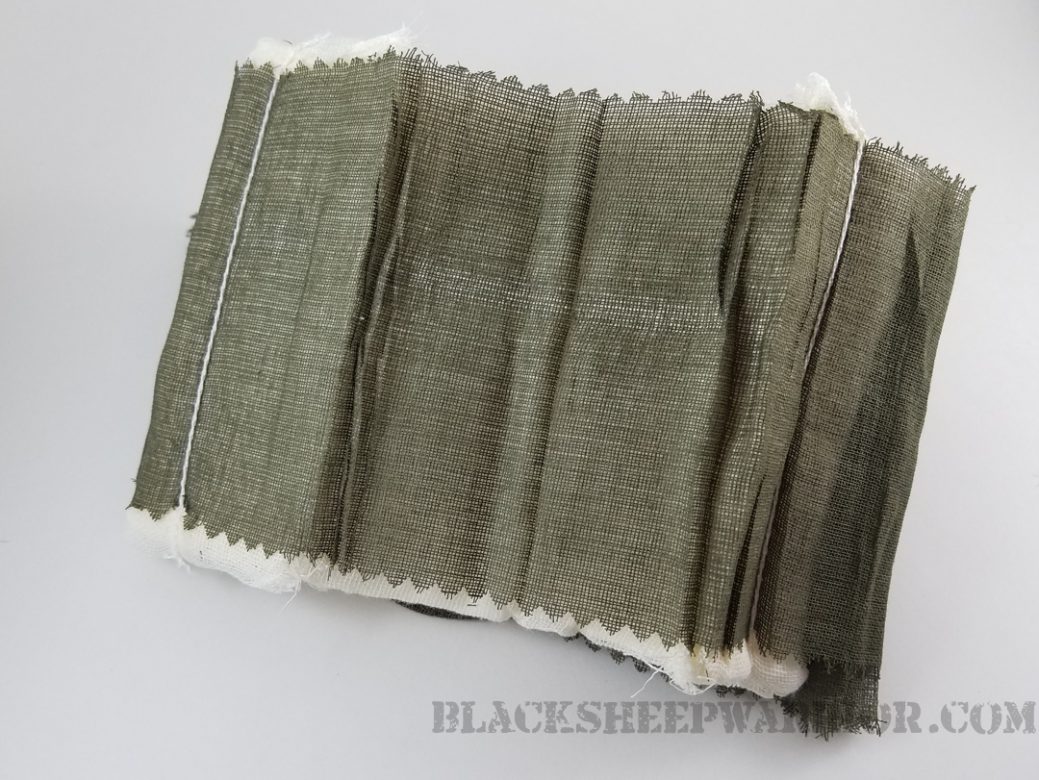
Even with more modern options available, the field dressing still has a lot going for it. They are dirt cheap in comparison to other bandages. Plus they are the most compact bandage out there. Some of the new compact trauma bandages are compressed and flat folded but still have four inches of wrapper to contend with. The field dressing’s thick plastic wrap is form fitted with a small tail that easily folds into its own profile. Even with two wrappers the field dressing is svelte and tidy. The downside is the slower and more complicated application routine. But considering this bandage was successfully used for decades, you can’t dismiss it outright.
Summary: In looking at the different trauma bandages on the market today there is no shortage of options and sizes. Every bandage we’ve looked at, save the field dressing, comes in different widths and/or form factors (flat fold, compressed, normal pack). I can’t tell you what size you should get, because again only you know what your expectations and limitations are.
Obviously your loadout for a trip to Wally World, rocking cargo shorts is going to be different than if you’re the number three man in a stack. Hopefully this article has given you an idea of the products that are out there. With that knowledge you can be an informed consumer and better prepared citizen/warrior/scuba ninja.
One final thing – Everything we’ve looked at is “hardware.” These bandages could be nothing more than a fabric decoration on a corpse if you don’t have the software (training) to use them correctly. Get trained and practice on the gear you carry. Once you settle on a particular bandage, buy one more than you need and crack the thing open. Hopefully our pictures helped you understand the products but nothing can replace hands-on experience.
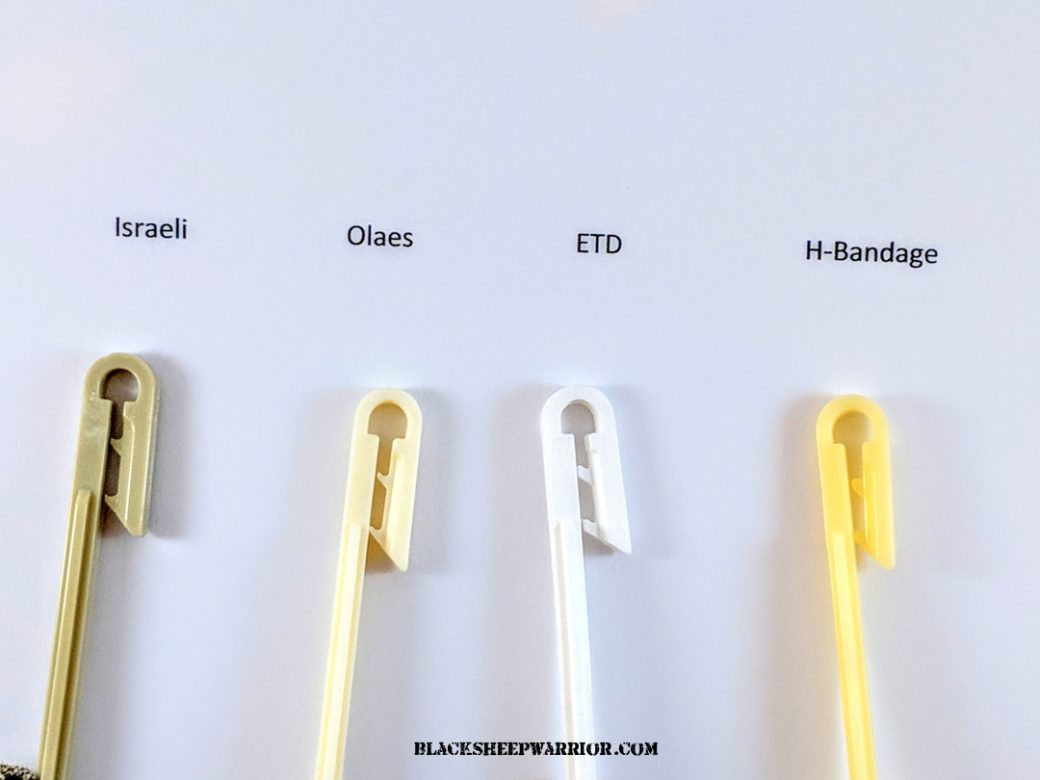
P.S. Ok, so I have to point this out because I think it’s really funny. You probably noticed the bandages’ plastic clips being mentioned over and over again. As I was writing this I noticed that the clips seem to be identical in make and design. The only difference I could notice was the shade of the plastic the clip was made of and the width based on the size of the bandage. I’m not sure who makes the clip but I find it hilarious that different manufacturers appear to use the same component across their competing lines. In fairness maybe the clip is an open source widget and everyone uses it because it’s easy to make. I prefer to think that someone apparently found the best bandage clip and everyone beat a path to their door. Well done bandage clip inventor, well done.
Where to get it?
A simple Google search will help you locate numerous trauma bandage options. We have also added links through out the article and below where you can easily find them.
Amazon (BSW gets a % of every sale which helps pay our server costs)
MTGtactical.com (Sister site to BSW and home for all your tactical gear needs)
5
4.5